
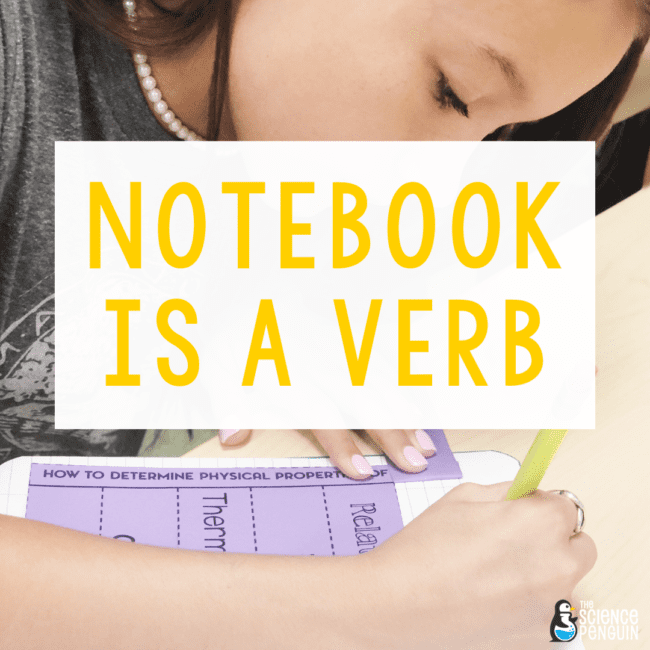
Notebook is a verb! It’s active. Students are talking. You’re talking. They’re doing stuff. You’re doing stuff. It’s interactive!
In this post, I focus on how to make science notebook lessons interactive, productive, and focused on student learning, retention, and reflection.

Tip #1: Explore Then Explain
I love this strategy because it provides more meaning to science instruction. Before you introduce information, provide an experience.
Here’s how this works. Students make a track for their marble, then draw the track or glue a photo of it in their notebooks. Then, the teacher provides direct instruction of 4 vocabulary terms. Then, students go BACK to the photo/drawing and use their new vocabulary to describe different parts.

Tip #2: Do 10 Minutes of Output for EVERY Lesson!
Output, or silent independent student reflection time, is so important at the end of a lesson. Last year, my classes made “I Learned” pages with what they learned during the lesson.
During this time, I walk around and check for understanding by scanning their I Learned pages. I also check in with my struggling learners. Output is great because students have CHOICE about what they include on their pages.
Tip #3: Incorporate Student Talk.
Our students love to talk, right? Let’s give them a structured way to communicate about new learning. One of my favorite strategies for introducing new information is based on Whole Brain Teaching. Here’s how it works:
Teacher: “Class?”
Students: “Yes?”
T: “Stand up. Mirror and repeat.”
S: (standing up) “Mirror and repeat.”
T: (making hand motions) “Plants take in carbon dioxide.”
S: (making hand motions) “Plants take in carbon dioxide.”
T: (making hand motions) “Plants release oxygen.”
S: (making hand motions) “Plants release oxygen.”
T: “Turn and teach!”
S: “Okay!”
Students turn to a partner and go through the two new pieces of information.
T: “Class?”
S: “Yes?”
T: “Stay standing. Mirror and repeat.”
S: “Mirror and repeat.”
T: (making hand motions) “Plants take in carbon dioxide.”
S: (making hand motions) “Plants take in carbon dioxide.”
T: (making hand motions) “Plants release oxygen.”
S: (making hand motions) “Plants release oxygen.”
T: (making hand motions) “Humans breathe in oxygen.”
S: (making hand motions) “Humans breathe in oxygen.”
T: (making hand motions) “Humans exhale carbon dioxide.”
S: (making hand motions) “Humans exhale carbon dioxide.”
T: “Turn and teach!”
S: “Okay!”
Students turn to a partner and go through all four new pieces of information.
T: “Mirror only!”
S: “Mirror only!”
T: (As the teacher makes hand motions, students follow along with the motions, but don’t repeat.) “Plants take in carbon dioxide and release oxygen during photosynthesis. Humans breathe in oxygen and release carbon dioxide during respiration. This is the carbon dioxide-oxygen cycle. What is this cycle called? Turn and talk.”
S: “Okay!” (students turn and talk about the answer)
T: (making hand motions) “This is the carbon dioxide-oxygen cycle.”
What you just read takes less than 3 minutes. I’d add more practice for those last three pieces, but I think you can see where this is going.
There were 7 chunks of information I wanted students to know. Instead of just having students copy down those 7 chunks or just saying those 7 chunks, I taught each chunk with movement, allowed students to practice, and used basic questions.
Tip #4: Bring Them Closer!
Just because you have tables and desks doesn’t mean you always have to use them! If the students were particularly fidgety or off, I’d bring them to the carpet or to an area of the floor for a lesson.
Proximity, y’all! When everyone is closer together, the class feels more cohesive and this set-up lends itself to conversation and observations.
Tip #5: Use brief hands-on opportunities.
Every day doesn’t have to be a full-on lab. BUT, you can provide hands-on opportunities during a lesson. Working on force and motion? Pull out some yo-yos. Play with them. Make observations. Working on day and night? Make a quick model like in the photo above. Students remember their experiences. Give them some experiences to build on!
Closing
Remember that notebooking is not the same as note-taking. Try taking your lessons to another level with investigations, hands-on opportunities, proximity, student talk, and output!

6 thoughts on “5 Ways to Make Your Science Notebooks More Interactive”
love love love what you have to say about notebooks and it applies to ALL subjects!
Great suggestions!
Hodgesgal
Hodges Herald
Love the reminder about student talk!!Great interactive way to review! Thanks!!
I really like the student talking idea. That totally adds another dimension to the notebook.
You must be a fabulous teacher! Personally,we homeschool our children, classically, memorizing information much like this! However, I’ve been looking for ways to implement notebooking for each subject. I love what I see here. Great blog!
I notice you don’t use the right-hand-side for input, left-hand-side for output as I’ve read on other sites. Can you explain a little why you decided to do your notebook a different way? Just curious as I’m deciding how to do my own ISNs for the first time. Thanks!!
Hi Amy! I found the left-side right-side to be way too difficult in the real world where kids write and draw and record differently. I make sure that the student output is there, but it isn’t necessarily on the left page. Hope this helps!
Ari